
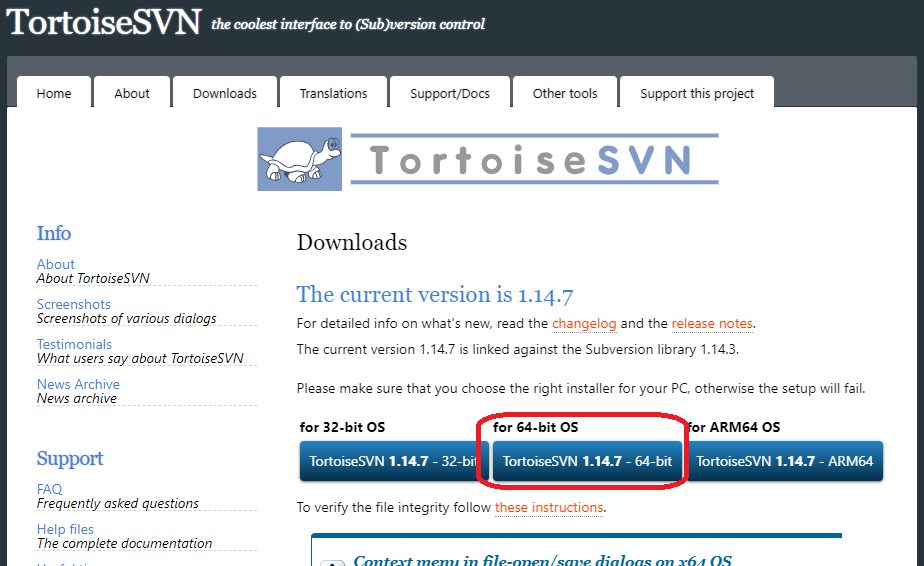
TortoiseSVN 1.14.7では、PuTTY形式の秘密鍵のファイル(*.ppk)を使用する。

“C:\Program Files\PuTTY\puttygen.exe” を開く。

[Load]
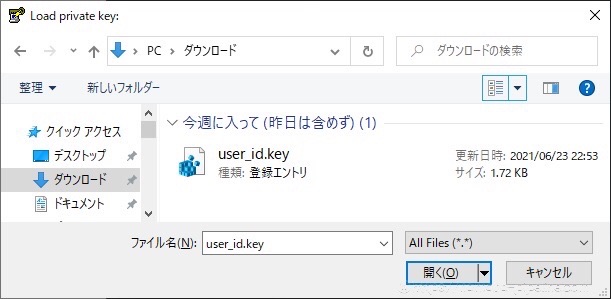
エックスサーバーで公開鍵生成後にダウンロードした秘密鍵ファイル(*.key)を開く
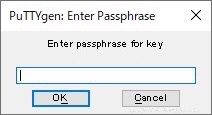
エックスサーバーで公開鍵生成時に決めたパスフレーズを入力
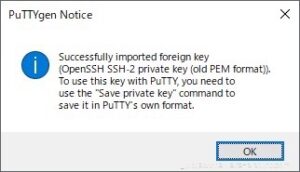
インポート成功
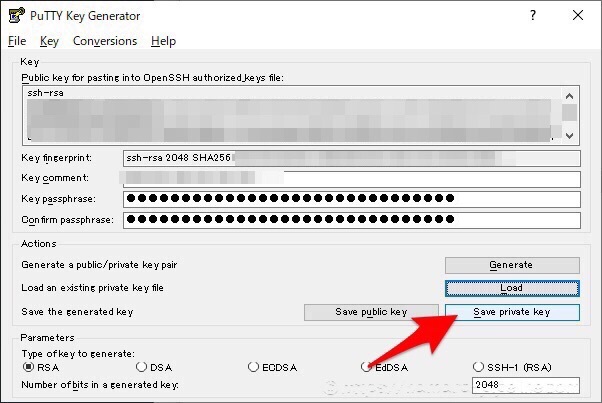
[Save private key]
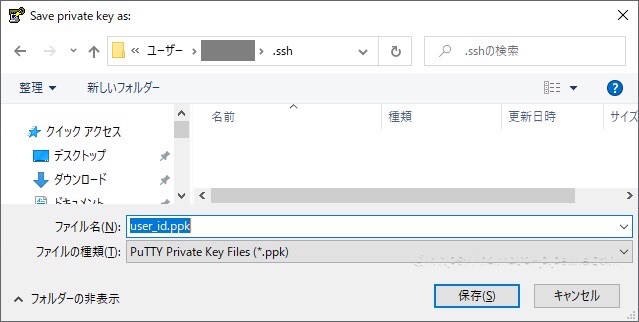
どこでもいいけど、
[C:\Users\%username%\.ssh]フォルダに保存しておく
SSH接続時にパスフレーズの入力を省略するため、Pageantを起動する。PageantはPuTTYに内蔵している。
“C:\Program Files\PuTTY\pageant.exe” を開くと、システムトレイに起動する。
右クリック「Add key」でPuTTY形式の秘密鍵(*.ppk)を開き、パスフレーズを入力する。
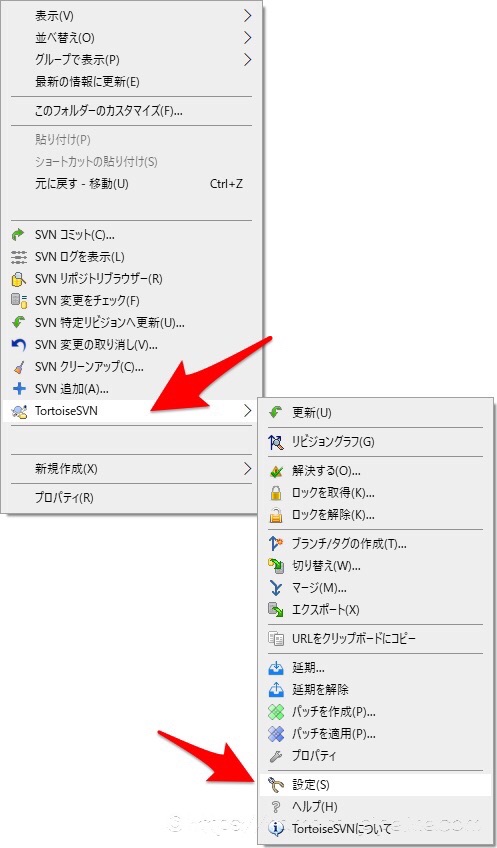
[TortoiseSVN] > [設定]

[ネットワーク] > [SSHクライアント]
SSHクライアントを記入
-P 10022 はエックスサーバーのSSH接続ポート
-l ■■■■■は、エックスサーバーのサーバID
-i ▲▲▲▲▲はPuTTY形式の秘密鍵のファイルパス。”ダブルクォーテーション”で囲む。
plink.exeのパス(例:C:\Program Files\PuTTY)はシステム環境変数Pathに追加しておく。
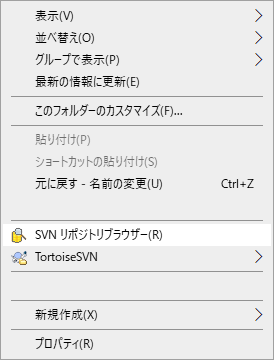
リポジトリブラウザを開く
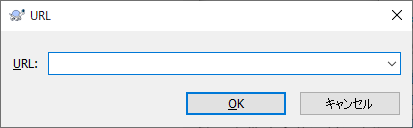
リポジトリURLを記入
■■■■■は、エックスサーバーのサーバID
hogehogeは、リポジトリ名を記入
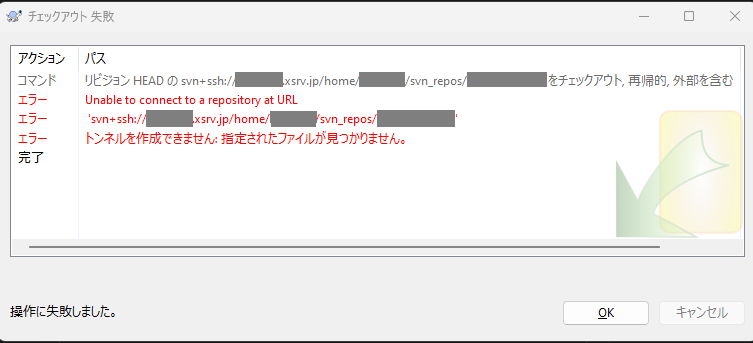
秘密鍵のファイルのパスの区切りに¥マークを使うと、接続時に「トンネルを作成できません」ってなる。
エラー: Unable to connect to a repository at URL
エラー: To better debug SSH connection problems, remove the -q option from ‘ssh’ in the
エラー: [tunnels] section of your Subversion configuration file.
下記追加設定をすると、VSCodeのターミナルでSVNコマンドが使えるようになる。
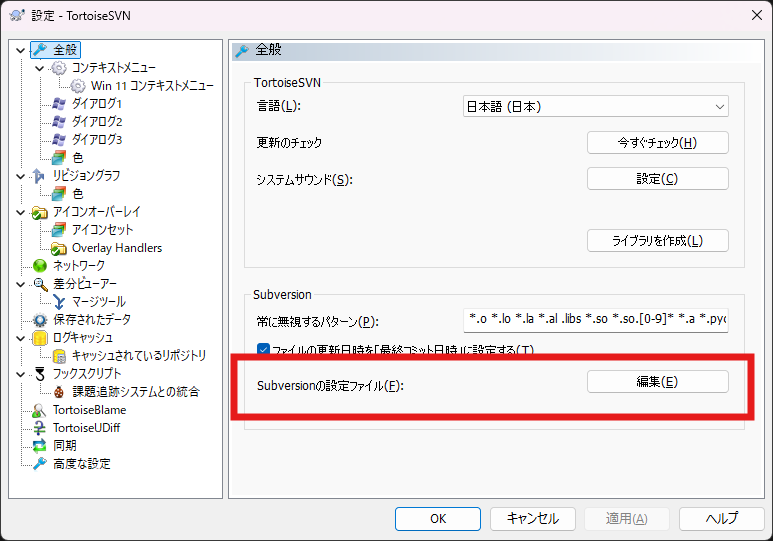
[TortoiseSVN] > [設定] [全般] > [Subversionの設定ファイル]
configファイルがテキストエディタで開くので、1行追記する。
config
### Section for configuring tunnel agents.
[tunnels]
### Configure svn protocol tunnel schemes here.  By default, only
### the 'ssh' scheme is defined.  You can define other schemes to
### be used with 'svn+scheme://hostname/path' URLs.  A scheme
### definition is simply a command, optionally prefixed by an
### environment variable name which can override the command if it
### is defined.  The command (or environment variable) may contain
### arguments, using standard shell quoting for arguments with
### spaces.  The command will be invoked as:
###     svnserve -t
### where  is the hostname part of the URL.  If the URL
### specified a username and/or a port, those are included in the
###  argument in the usual way: @:.
### If the built-in ssh scheme were not predefined, it could be
### defined as:
# ssh = $SVN_SSH ssh -q --
ssh = plink -ssh -P 10022 -l ■■■■■ -i "C:/Users/username/.ssh/▲▲▲▲▲.ppk"
-l ■■■■■は、エックスサーバーのサーバID
-i ▲▲▲▲▲はPuTTY形式の秘密鍵のファイルパス。”ダブルクォーテーション”で囲む。